Organize Souvenirs in a Jar

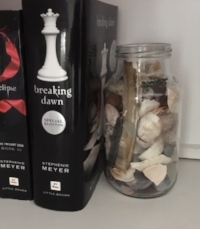
Young kids love to collect rocks, sand, and shells while on vacation. When you return home, put those special objects in a jar. (Bonus tip: always tuck a few plastic bags into your suitcase when on vacation; the bags are helpful in many ways, and give you a place to stash those rocks and shells!)

I kept a few jars of shells and rocks on my daughter’s bookshelf. Now a teenager, she had the idea of using those jars as bookends. They are mementos and functional.


IMG_0886.JPG

Organized Travel Apps

Folder for Vacataion Apps.jpg

This summer my family went on a spectacular cruise to Alaska! For this trip we were downloading several different apps to our smartphones.

My husband had the smart idea to organize them all into a single folder on his iPhone. He included our airline, rental car company, Airbnb, and a special app just for use on the Disney cruise, among others.

Having the key apps in one folder on the front page of his phone made it so easy to find what we needed right away.

While I still recommend bringing printed copies of your travel confirmations and information, having hotel, air, and car company apps on your phone can be a lifesaver in case of travel delays or cancellations.

Making a List Even More Effective: Add a Photo

I often use the Notes on my iPhone for lists of information - books to read, movies to see, and things to buy. Did you know you can add a photo to your notes? 

A client shared this helpful tip: when she creates a list of things she'd like to buy for her home, such as new kitchen stools or a rug for her living room, she snaps a photo of the space and saves it with the note. Then when she's out shopping not only does she have the note about what she needs, she has the photo of the space also. This visual is a great reminder for wall color, scale, and other patterns in a room. 

You can also add sketches to notes! If you are not sure how to do it, here's a great tutorial to get you started. 

Screenshot of a note with option to add photo

Screenshot of a note with option to add photo

From To Do to Done

TO Do pad.jpg

I'll admit it: I love lists. I enjoy checking off when things get done. Generally I keep an electronic list, but I use notepaper or sticky notes for my daily/weekly reminders. While at The Container Store recently, I was pleased to see this new To Do notepad from Poppin. The design and color make me happy...and maybe will help me want to do what's on the list!  (If we like a product, we tend to use it more.)

Tips on Making an Effective List

Getting your To Dos Done

Snowed in? Get Organized!

Home with a snow day today? Once the French toast is done, and the movies get old, try an organizing project to clear the clutter and make you feel better. 

Here are some of my favorite ideas to get you started:


markerjars.JPG

Udpated Product to Organize your Kitchen, Pantry or Closet

I dislike the name, but a "lazy susan" can be a great organizing tool. Tall items, though, would often fall over when the turntable spins.

Now an updated version solves that issue. With taller sides and divided sections, this lazy susan keeps items standing in place. Bonus: it's clear so you can see exactly what it holds. 

20180121_192839095_iOS.jpg

This would be perfect for holding oils and vinegars on a kitchen counter or in a cabinet, or in the bathroom it can hold shampoo and other bottles. 

Perfectly Organized Pantry

What do you do when you go visit your best friend to see her new home? Organize her pantry of course!

The gorgeous customized pantry had deep shelves, which meant things got lost in the back. We took everything out, weeded out expired items, then grouped categories together on the shelves. After a quick trip to HomeGoods to purchase some baskets, we set up the new easy-to-use pantry.

26814906_10156203288378648_7366907152960399017_n.jpg
26804459_10156203288618648_8565644710000138770_n.jpg


26231848_10156203288643648_913031294270477998_n.jpg
26220250_10156203288668648_5831281565184490722_n.jpg

Get Rid of the Front Door Shoe Pile

How do I deal with all the shoes? It's one of the top questions I hear from clients. If you have piles of shoes by your front door, here are some tips and products to try:

First, reduce the pile of shoes by the door. Keep only the pairs you wear regularly by the door, the rest need to go into your clothing closet or other area. This may mean keeping only 2-3 pairs per person in your house. 

Next, find the right storage solution:

20180121_191226268_iOS.jpg
  • Several clients have had good luck with the slim IKEA shoe cabinet. It's small enough to fit in even the narrowest of hallways. 
  • A shelf can be practical, but be sure it is sturdy wood or metal with at least two levels and that your shoes can fit the shelves. Don't get a shelf that snaps together as they tend to not hold up.
  • Try this modern rack for shoes and accessories, and can even accommodate heels 
  • For kids shoes, this caddy keeps 3 pairs upright, making it easier for any child to find the shoes they need.

Make it routine: If you have a new place for shoes, be sure to tell your family and help make using the new container routine. Here's a creative reminder a client used with her family. 

Colorful Filing

I often advise clients to use color when organizing if it makes them happy. While there have been colorful file folders for a while, I was so excited to see the bright and beautiful filing cabinets now available. Check out what I found at The Container Store. These happy colors could almost make anyone want to file!

20180121_194525040_iOS.jpg
20180121_191925728_iOS.jpg

The Strategy of 1

junk_drawer.JPG

Many of my clients feel they never have time to organize, and I can sympathize. Next time you feel this way try the Strategy of 1: only de-clutter 1 drawer, 1 cabinet, or 1 space that is bothering you. 

Tonight I cleaned out my "junk drawer" in the kitchen. It took less than 15 minutes and now I know what's in there. How can the Strategy of 1 help you? 

  • Organize 1 drawer in the kitchen; if you do 1 per day you'll get through them in a week 
  • Weed out 1 filing drawer in your office
  • De-clutter 1 corner of your bedroom

I find that focusing on a single area can be much less overwhelming, and help you build motivation to do more. This month try the Strategy of 1.

Read about my recent project where I focused on one space on the That's Neat Blog.

This post first appeared in my newsletter, The Neat Sheet in January/February 2017. Sign up for The Neat Sheet here

Digitize and Organize your Photos - at home!

Do you have boxes of loose photos taking up space in a closet or shelf? Recently a friend of mine asked for help to reduce the amount of photos she had. We brainstormed some options, and developed a plan.

First, she got rid of blurry, boring, and duplicate photos, reducing her stash down by at least 2 photo boxes. Next, to reduce even more, she decided to digitize some of the oldest and most precious photos using a cool new machine, called the Wolverine Photo Digitizer. Here's what she says:

The Wolverine Photo Digitizer is available on Amazon for about $62. I got this product in the hopes that I could reduce the number of paper photos I had to store. They are nice memories and ones I don't want to lose but not photos really worthy of a book. I thought if I could digitize them, I could let go of the paper copy, free some space, and still have the digital copy available to me. 

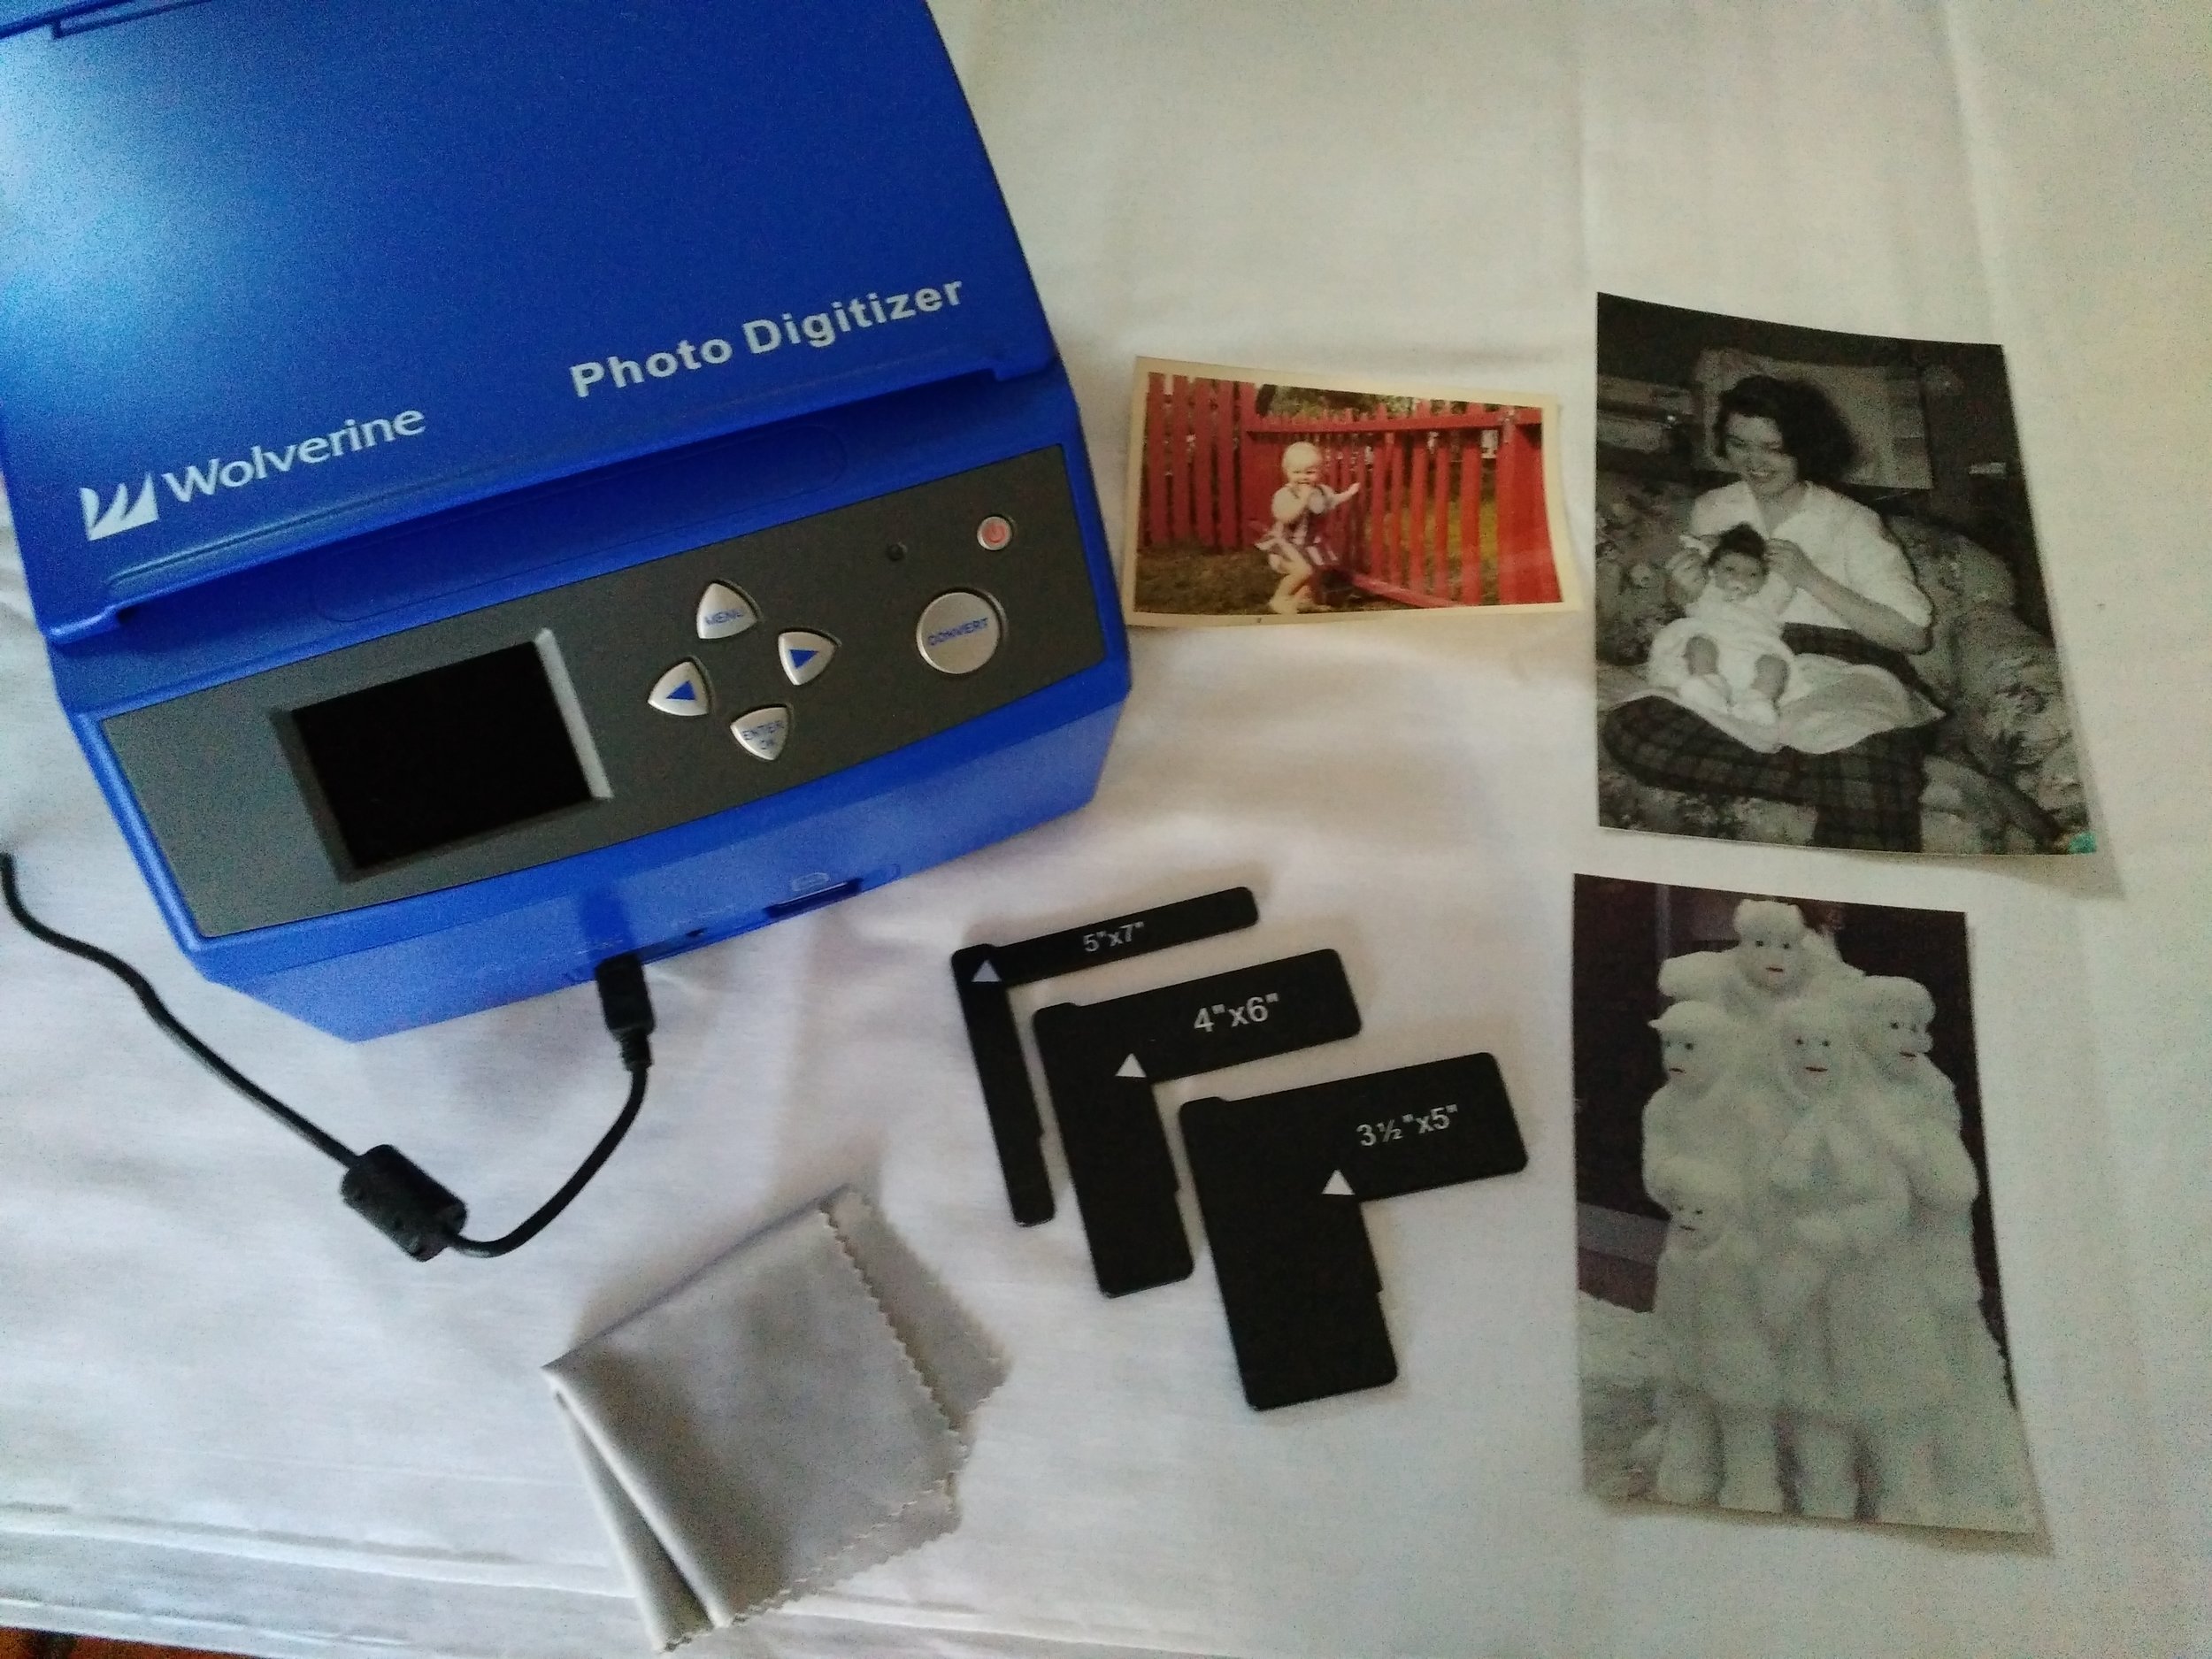
You can see in the photo (right), you get the digitizer (approx 9"x9" and very lightweight), 3 photo size brackets, and a lint-free cloth. Not shown is the instruction book. They don't provide an SD card but the device can store up to 35-40 images without a card.  

It's simple to use and the process goes very quickly. I digitized over 1,000 photos in two sessions. Make sure you have a comfortable place to work that will be easy on your back. It's important to take breaks and stretch as well, because it's easy to get into a groove and just keep going without realizing what you're doing to your back.

Getting started: It's a good idea, if you have quite a few images to digitize, to separate them out by size. I had a variety of 3x5, 4x6, 5x7, and wallet sized photos. 

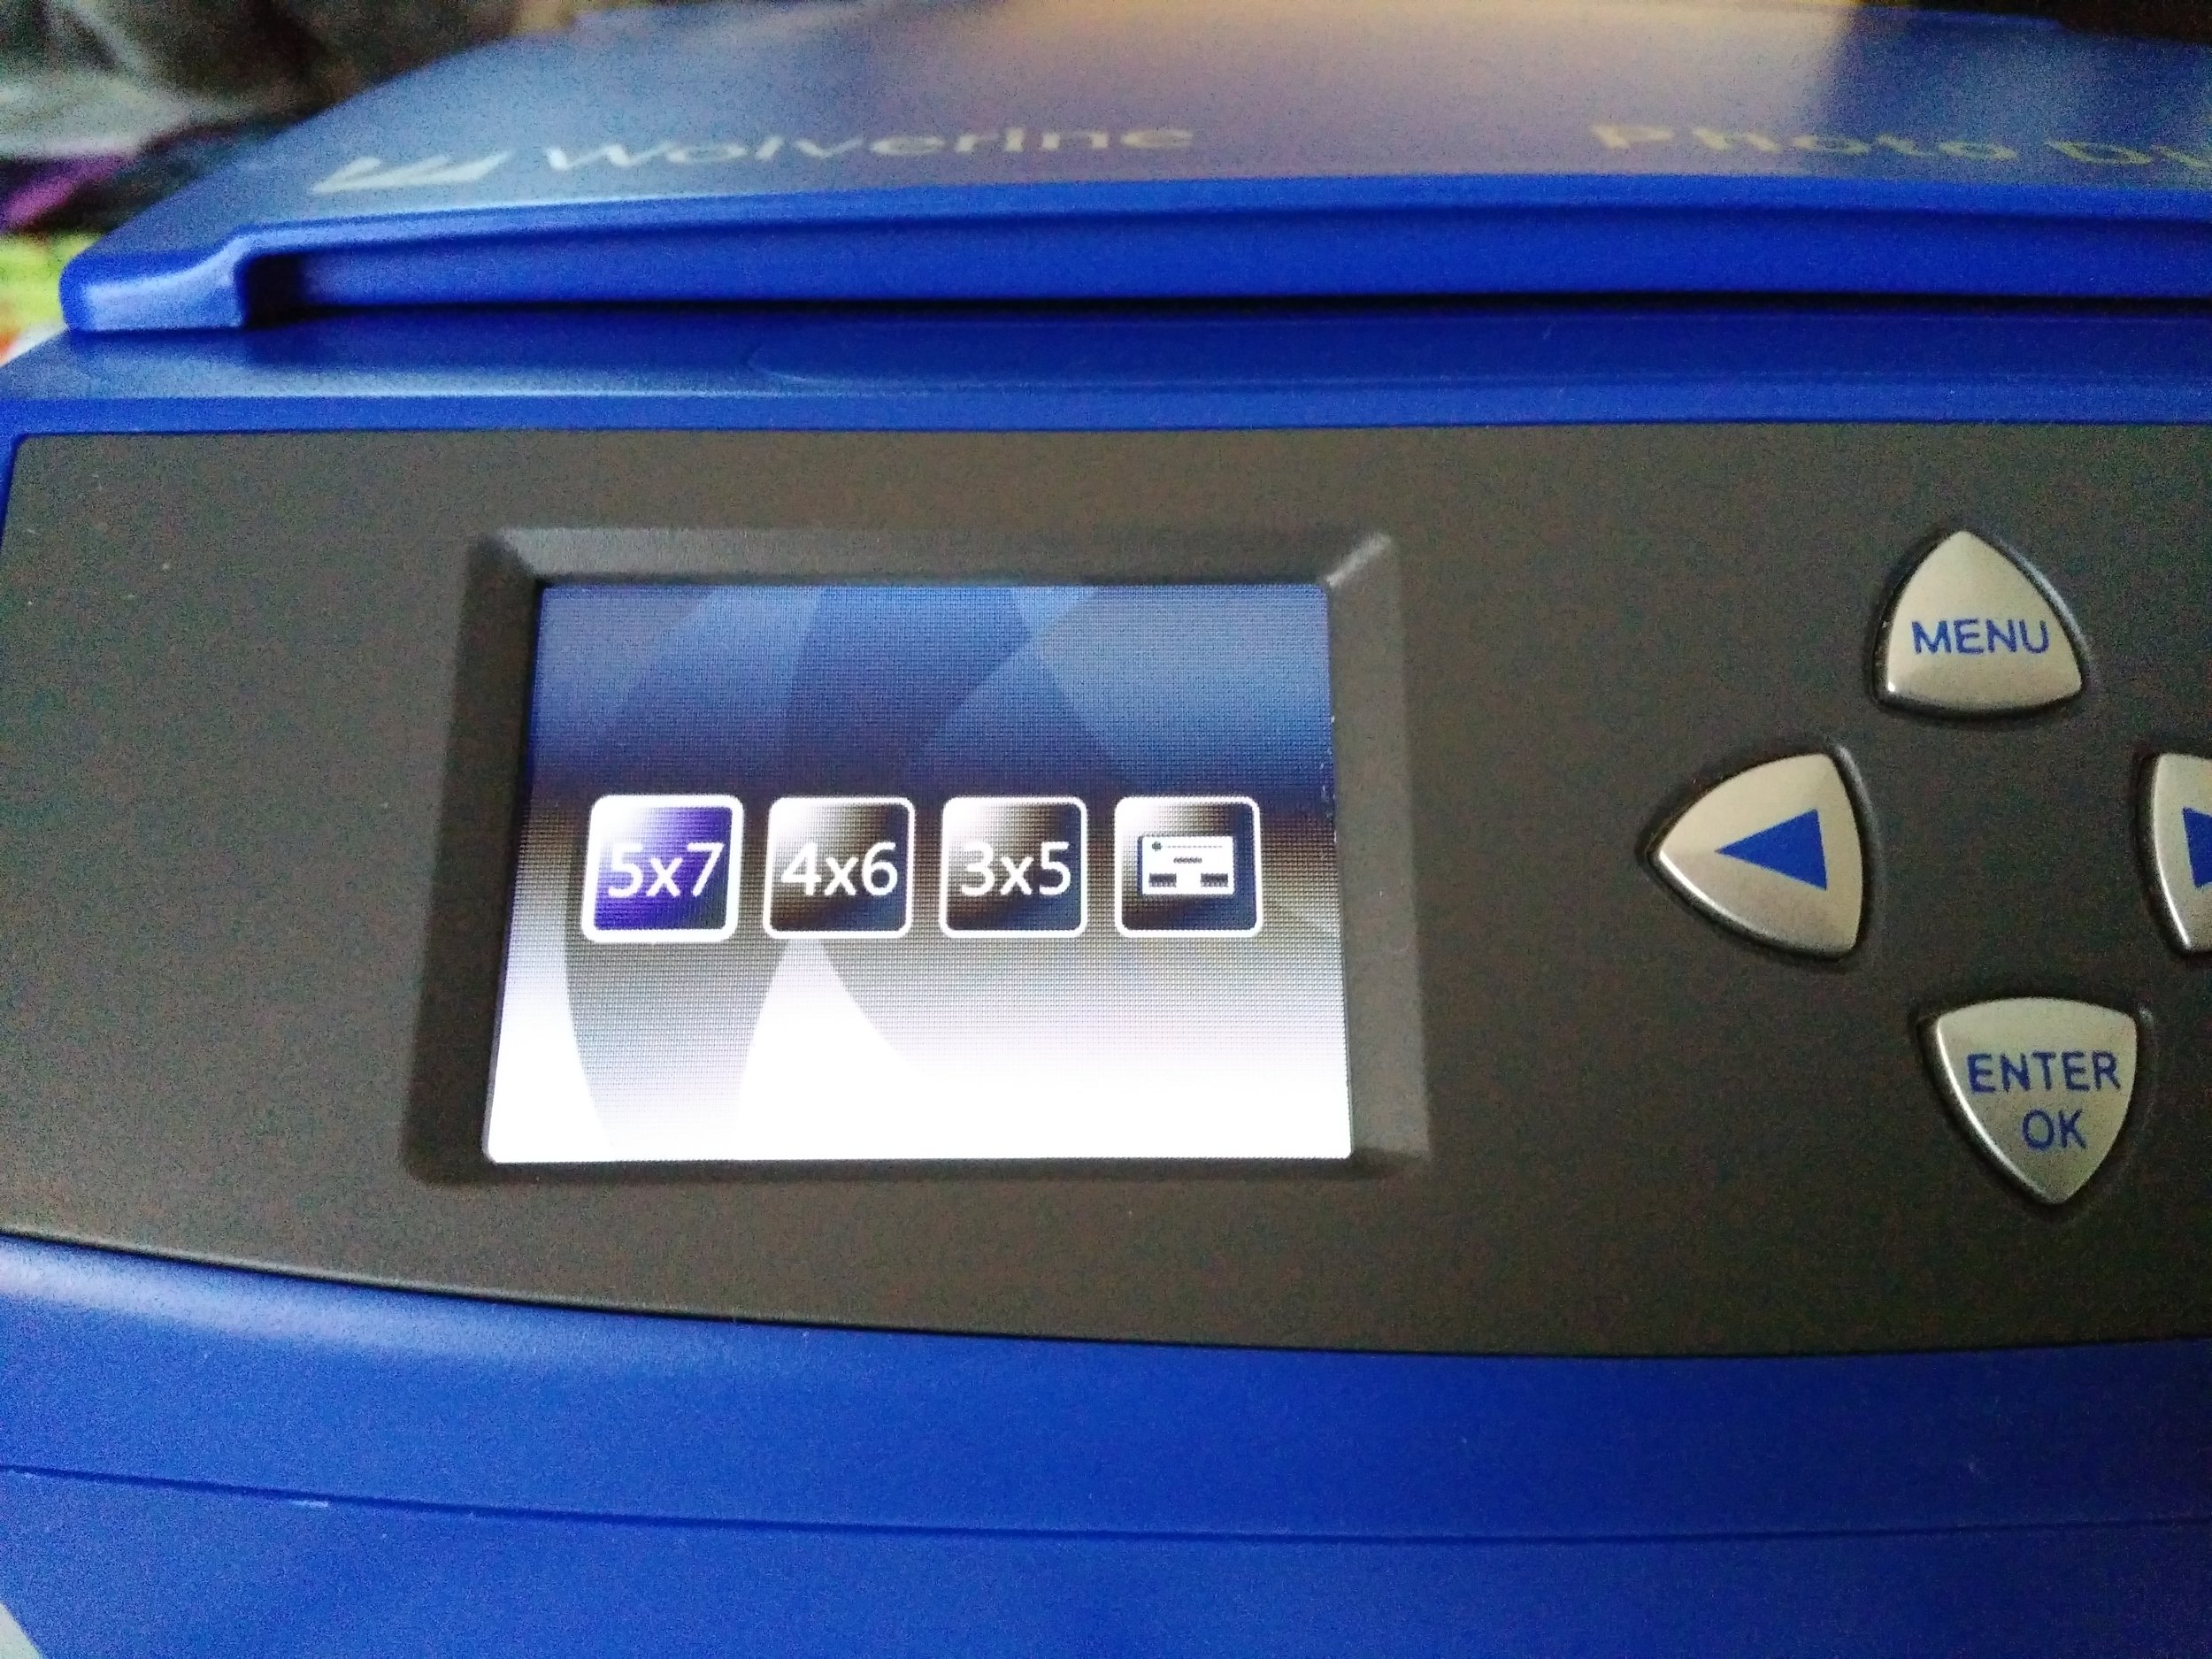
Digitize: Once you're ready to begin, insert your SD card then turn the machine on. Press the menu button until you see this symbol. Hit Enter, then arrow to the right or left to get to the size photo you want to digitize. Hit Enter to select it. 

I've started with the 5x7 photo. Place the photo size bracket into the upper left corner into the slots, and align your photo into that bracket corner. Close the lid and press Convert, then Enter. It takes approx 5-8 seconds for the photo to be digitized.

You can see the "progress wheel" turning on the screen. Repeat that process for the 4x6 photo making sure to change out the photo size bracket and to change the photo size in the menu.

And repeat the process once again for the 3x5 photo again making sure to change to the 3x5 photo size bracket and change the photo size in the menu.

Hints: I highly recommend you use an SD card for this if you have more than 35-40 photos to convert. There's a slot for it right in the front of the machine. 

Also, they really mean it when they recommend you clean the glass often. I have many photos with dust particles on them from not cleaning the glass often enough.  

Final Assessment: Overall, I'm pleased with the Wolverine Photo Digitizer. The quality of the digitized photos varied. Some were not as clear as the original, or the lighting was different, or they just looked like well done photos of the photos. For my purposes, to have a digital back-up of paper photos that don't require great quality, it worked really well. If I wanted a good quality digital copy of a special photo, I would still take it to a shop that specializes in that.

20180121_212227598_iOS.jpg
Wolverine and accessories

Wolverine and accessories

Photo size and crop

Photo size and crop

SD card

SD card

Select size of photos

Select size of photos

Progress bar while scanning

Progress bar while scanning

5x7 Photo on scanner

5x7 Photo on scanner

An Easy Way to Organize Table Linens

Like bed linens, table linens are often crowded into shelves or drawers, making it impossible to know the size and shape of the tablecloth without unfolding it.

This Thanksgiving, a family member shared her new secret for organizing table linens: she stored each one in an XL clear plastic bag, and noted the size - whether the tablecloth worked with 1 table leaf, 2 leaves, etc. I loved this idea! 

This requires some work upfront, but will definitely save time later on. The labelling system makes it so easy to grab the correct bag rather than dig through all the linens. 

20171126_144503260_iOS.jpg

Clear the Kitchen Clutter

One key clutter area for many of my clients is the kitchen island or counter. The kitchen is often the hub of the home, in constant use, and where kids drop their backpacks, bills are paid, and dinner is prepared. How do you keep this busy area clear?

MP900430678[1].jpg
  • Get rid of the stuff that doesn't belong, every day. All kinds of things end up in the kitchen. Be relentless in weeding out the items that don't need to be on the counter. And this is the most important step: do this every day and you'll be able to keep the area clear.
  • Identify a home for the items hanging around. Relocate things to other rooms and put them away. If papers are piling up, try a desktop file box or paper sorter. Have a homework station for your kids that doesn't stay on the counter. Create a "landing pad" for your keys, phone and bag that isn't the counter.
  • Create a "drop spot" for your kids backpack, or use hooks by the door. Help kids learn a routine that works for your family, such as: unpack the backpack and lunch box, do homework, put backpack away. 
  • Keep only daily use appliances on your kitchen counters. Appliances used less often should be away in cabinets.

Once your counters get some breathing space, enjoy it! With a five minute daily routine of clearing the clutter, you can keep it that way.  

How to Clear the Corner Clutter?

Corners are magnets for clutter! Things seem to end up in the corners of our rooms, often in piles, bags, or boxes. If you really want to clear the clutter, take a look at what's hiding out in the corners.

Here’s how to get started:

Bookstack.jpg
  1. Pick one corner to tackle. Set a timer for 30 minutes.
  2. Pull everything out. Toss and recycle what you can.
  3. Put items in categories, and put away what you can.
  4. Consider each item and why it ended up in the corner. Does it not have a place to go? Or is the place it goes over stuffed? Does the item require an action? Is it in transition to go somewhere else (to be donated, to a friend, to a family member)?
  5. Deal with each of the items. If they have to go into a space that is overstuffed, put it in the area and then schedule another time to declutter that space. You can also schedule time to follow up and make decisions or add the action items to your To Do list. If items are going out, put them near your door or in your car and resolve to pass them on within a week. 

Once you’ve been able to clear the clutter in your corners, enjoy your space! The room will feel more open and peaceful.

Backpack Storage

Problem: Your child's backpack ends up all over the house...in the kitchen, in the living room, near the shoes, but never in the same spot. 

Solution: Give the backpack a "home," a set storage place where it goes every day once it is unpacked. Yes, every day. This is a routine even young elementary school students can master. Even if you don't have a dedicated mudroom, you can find a place for the backpack. 

Backpack storage ideas:

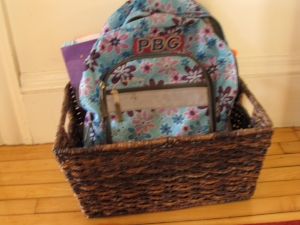
BackpackBasket.JPG
  • Give it a "drop spot" by using a basket placed on the floor. My 8th grader has been using this basket for her backpack since Kindergarten. Even when we were in the midst of a long home renovation project and the basket was relocated to a new spot, it was a visual cue for where to put her backpack.
  • Use a hook, at the correct height for your child to reach. 
  • Stash it in a cubby. Many homes have built-in cubbies, but make sure your child can reach it.

Organized Travel: Travel Essentials

This is one blogger's great list of her travel essentials, and her recommendations are right on track.

Having just returned from a two week trip to Idaho, Yellowstone and Grand Teton National Park, I'll add that my new travel essentials also include a  small flashlight and a travel-size first aid kit. I knew we'd be doing a lot of hiking on our recent trip, so I brought along a small first aid kit. At the time I figured it may be excessive to bring, but when I was unexpectedly stung by a bee/bit by a fly (still don't know what happened), it was very helpful to have something to clean my arm and a bandaid to cover the spot...especially since the closest medical station was nearly 2 hours away. 

We didn't bring a flashlight on our last trip, but from now on I will. It would have been helpful for night walks and cave exploring; even if you aren't hiking, having a flashlight in case of lights out in a hotel or other place would be useful. 


Organized Travel: Packing Strategies for Every Kind of Trip

Want to try to be more organized while away? Here are a few strategies depending upon your trip:

  • Tour trip where you are in a different place nearly every night. For this kind of travel, you are packing and unpacking daily, which can mean in a few days your bag or suitcase is a jumble of clean and dirty clothing. Try this strategy: before you leave, create complete outfits for each day and put each outfit in a large 2 gallon clear plastic bag. Yes, this requires planning ahead of time, but it can completely streamline your morning routine while away. Take out the clothing for the day, and put in yesterday's dirty laundry. My in-laws recently were on this kind of trip and learned this idea from a fellow traveler. The woman who was using this strategy was considering finding a post office to mail several of her bags of dirty laundry home!
  • For a cruise or other vacation where you'll stay in a spot for several days in a row, you can unpack more into the room. Even when I unpack I like to keep clothing organized in these packing cubes, which I've posted about before. 
  • No matter where you go, choose clothing pieces that can mix and match easily, and bring layers. Don't over pack shoes (a common problem), bring a casual pair, a dressy pair, and sneakers or walking shoes. 
  • Don't forget to seek out laundry options along the way on your travels, so you don't have to take so many clothes. One family we often travel with likes to do laundry right near the end of the trip so they don't have to deal with all the laundry as soon as they are home. 
  • Read here for more tips to make the return to home easier. 

Happy travels!

Easy Paper Organizing: Deal With and Done Boxes

This clever idea comes from a friend who recently moved. She set up this new paper management system near where she opens mail and pays her bills.

Here's how the simple system works: she opens her mail, weeds out all the junk, and then puts the paper in the appropriate box. "Deal With" means just that = paper that needs to be acted upon (bill to pay, form to fill out) and "Done" = file. When Done is overstuffed, she knows it's time to file the papers she wants to save. 

This is a great system for people who need visual reminders, and helps combat the creation of piles. The boxes can also be quickly tucked away if needed. 

"Drawer Day" Organizing Strategy

Recently one of my clients announced that we were going to have "Drawer Day" at our appointment. She picked a few drawers that hadn't been touched in a while to clean out and organize. 

This "theme" for our organizing session made it more fun, and helped us focus on some neglected spots for quick organizational wins. We've organized drawers in the kitchen, dining room, and master bedroom. We've also used "Drawer Day" as a break from our larger organizing projects, especially when working on papers. 

This can also be a great project to start when you only have 15-30 minutes. 

Hidden Labels

Want to let everyone in your house know where things go, but don't like the look of everything labeled? 

Try putting the labels inside a drawer or cabinet. A client and I set up these useful labels all along the inside rim of her utility drawer. Now the whole family will know where to find what they are looking for.