Do you have boxes of loose photos taking up space in a closet or shelf? Recently a friend of mine asked for help to reduce the amount of photos she had. We brainstormed some options, and developed a plan.
First, she got rid of blurry, boring, and duplicate photos, reducing her stash down by at least 2 photo boxes. Next, to reduce even more, she decided to digitize some of the oldest and most precious photos using a cool new machine, called the Wolverine Photo Digitizer. Here's what she says:
The Wolverine Photo Digitizer is available on Amazon for about $62. I got this product in the hopes that I could reduce the number of paper photos I had to store. They are nice memories and ones I don't want to lose but not photos really worthy of a book. I thought if I could digitize them, I could let go of the paper copy, free some space, and still have the digital copy available to me.
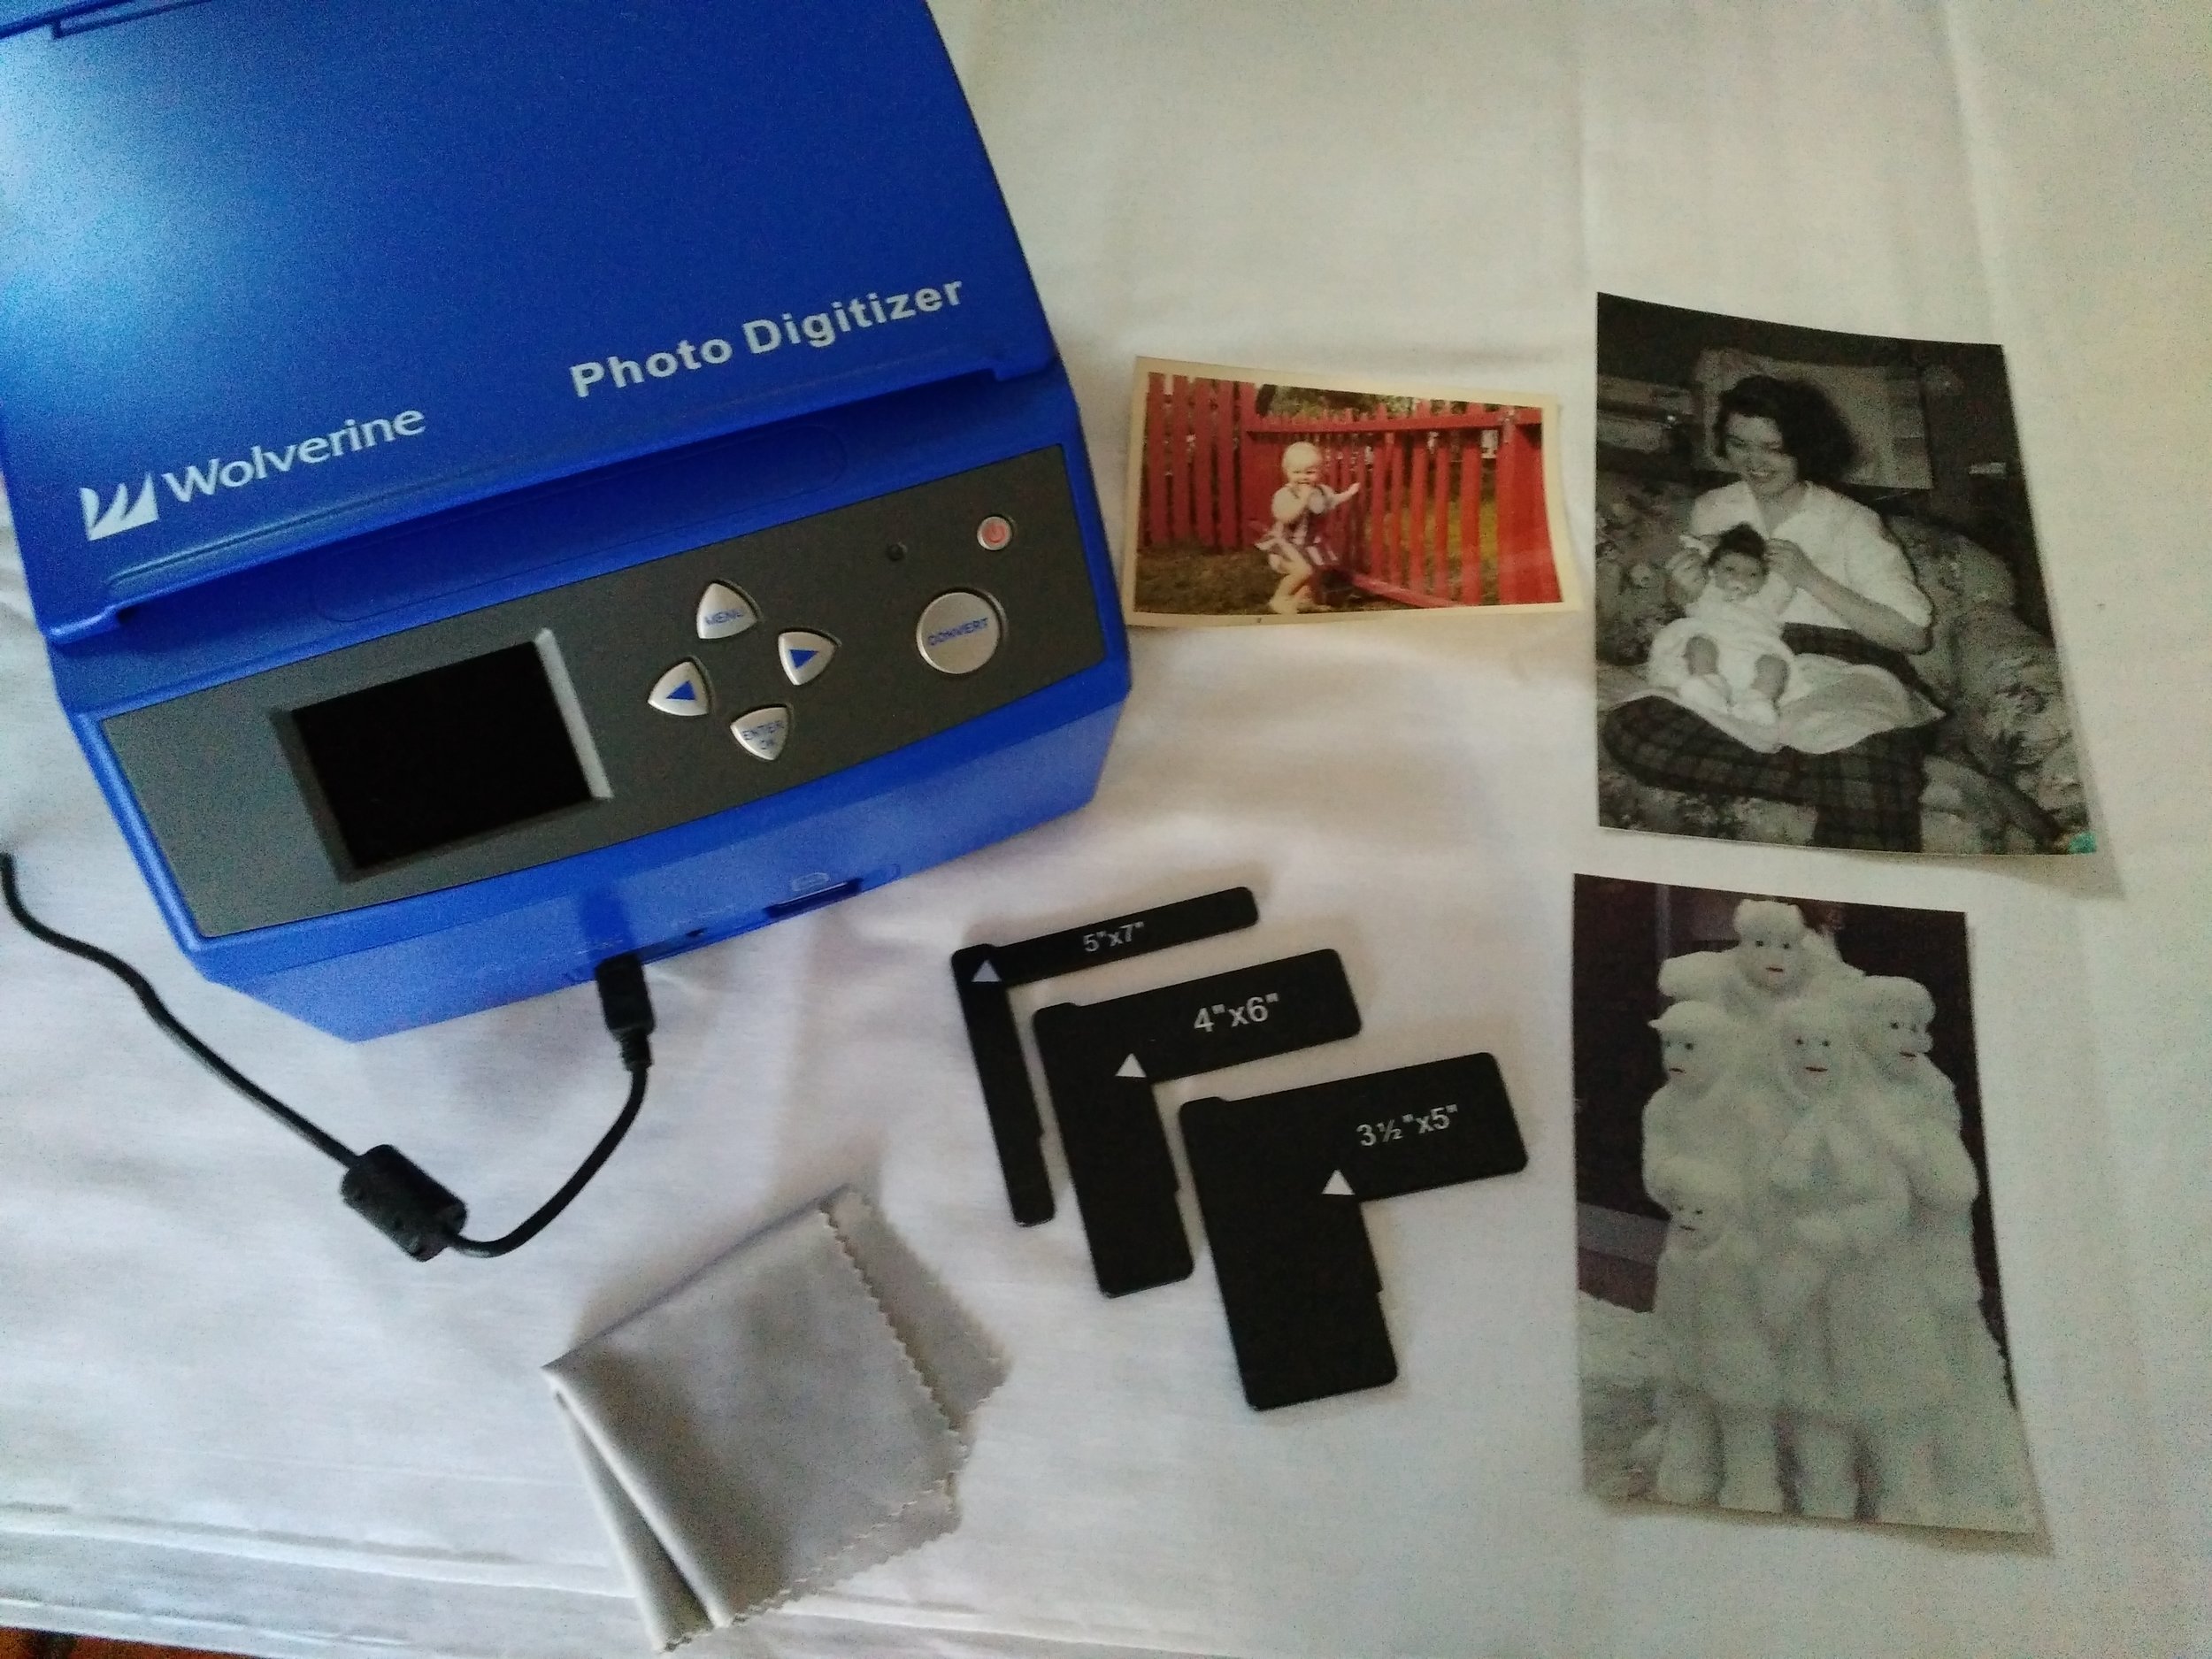
You can see in the photo (right), you get the digitizer (approx 9"x9" and very lightweight), 3 photo size brackets, and a lint-free cloth. Not shown is the instruction book. They don't provide an SD card but the device can store up to 35-40 images without a card.
It's simple to use and the process goes very quickly. I digitized over 1,000 photos in two sessions. Make sure you have a comfortable place to work that will be easy on your back. It's important to take breaks and stretch as well, because it's easy to get into a groove and just keep going without realizing what you're doing to your back.
Getting started: It's a good idea, if you have quite a few images to digitize, to separate them out by size. I had a variety of 3x5, 4x6, 5x7, and wallet sized photos.
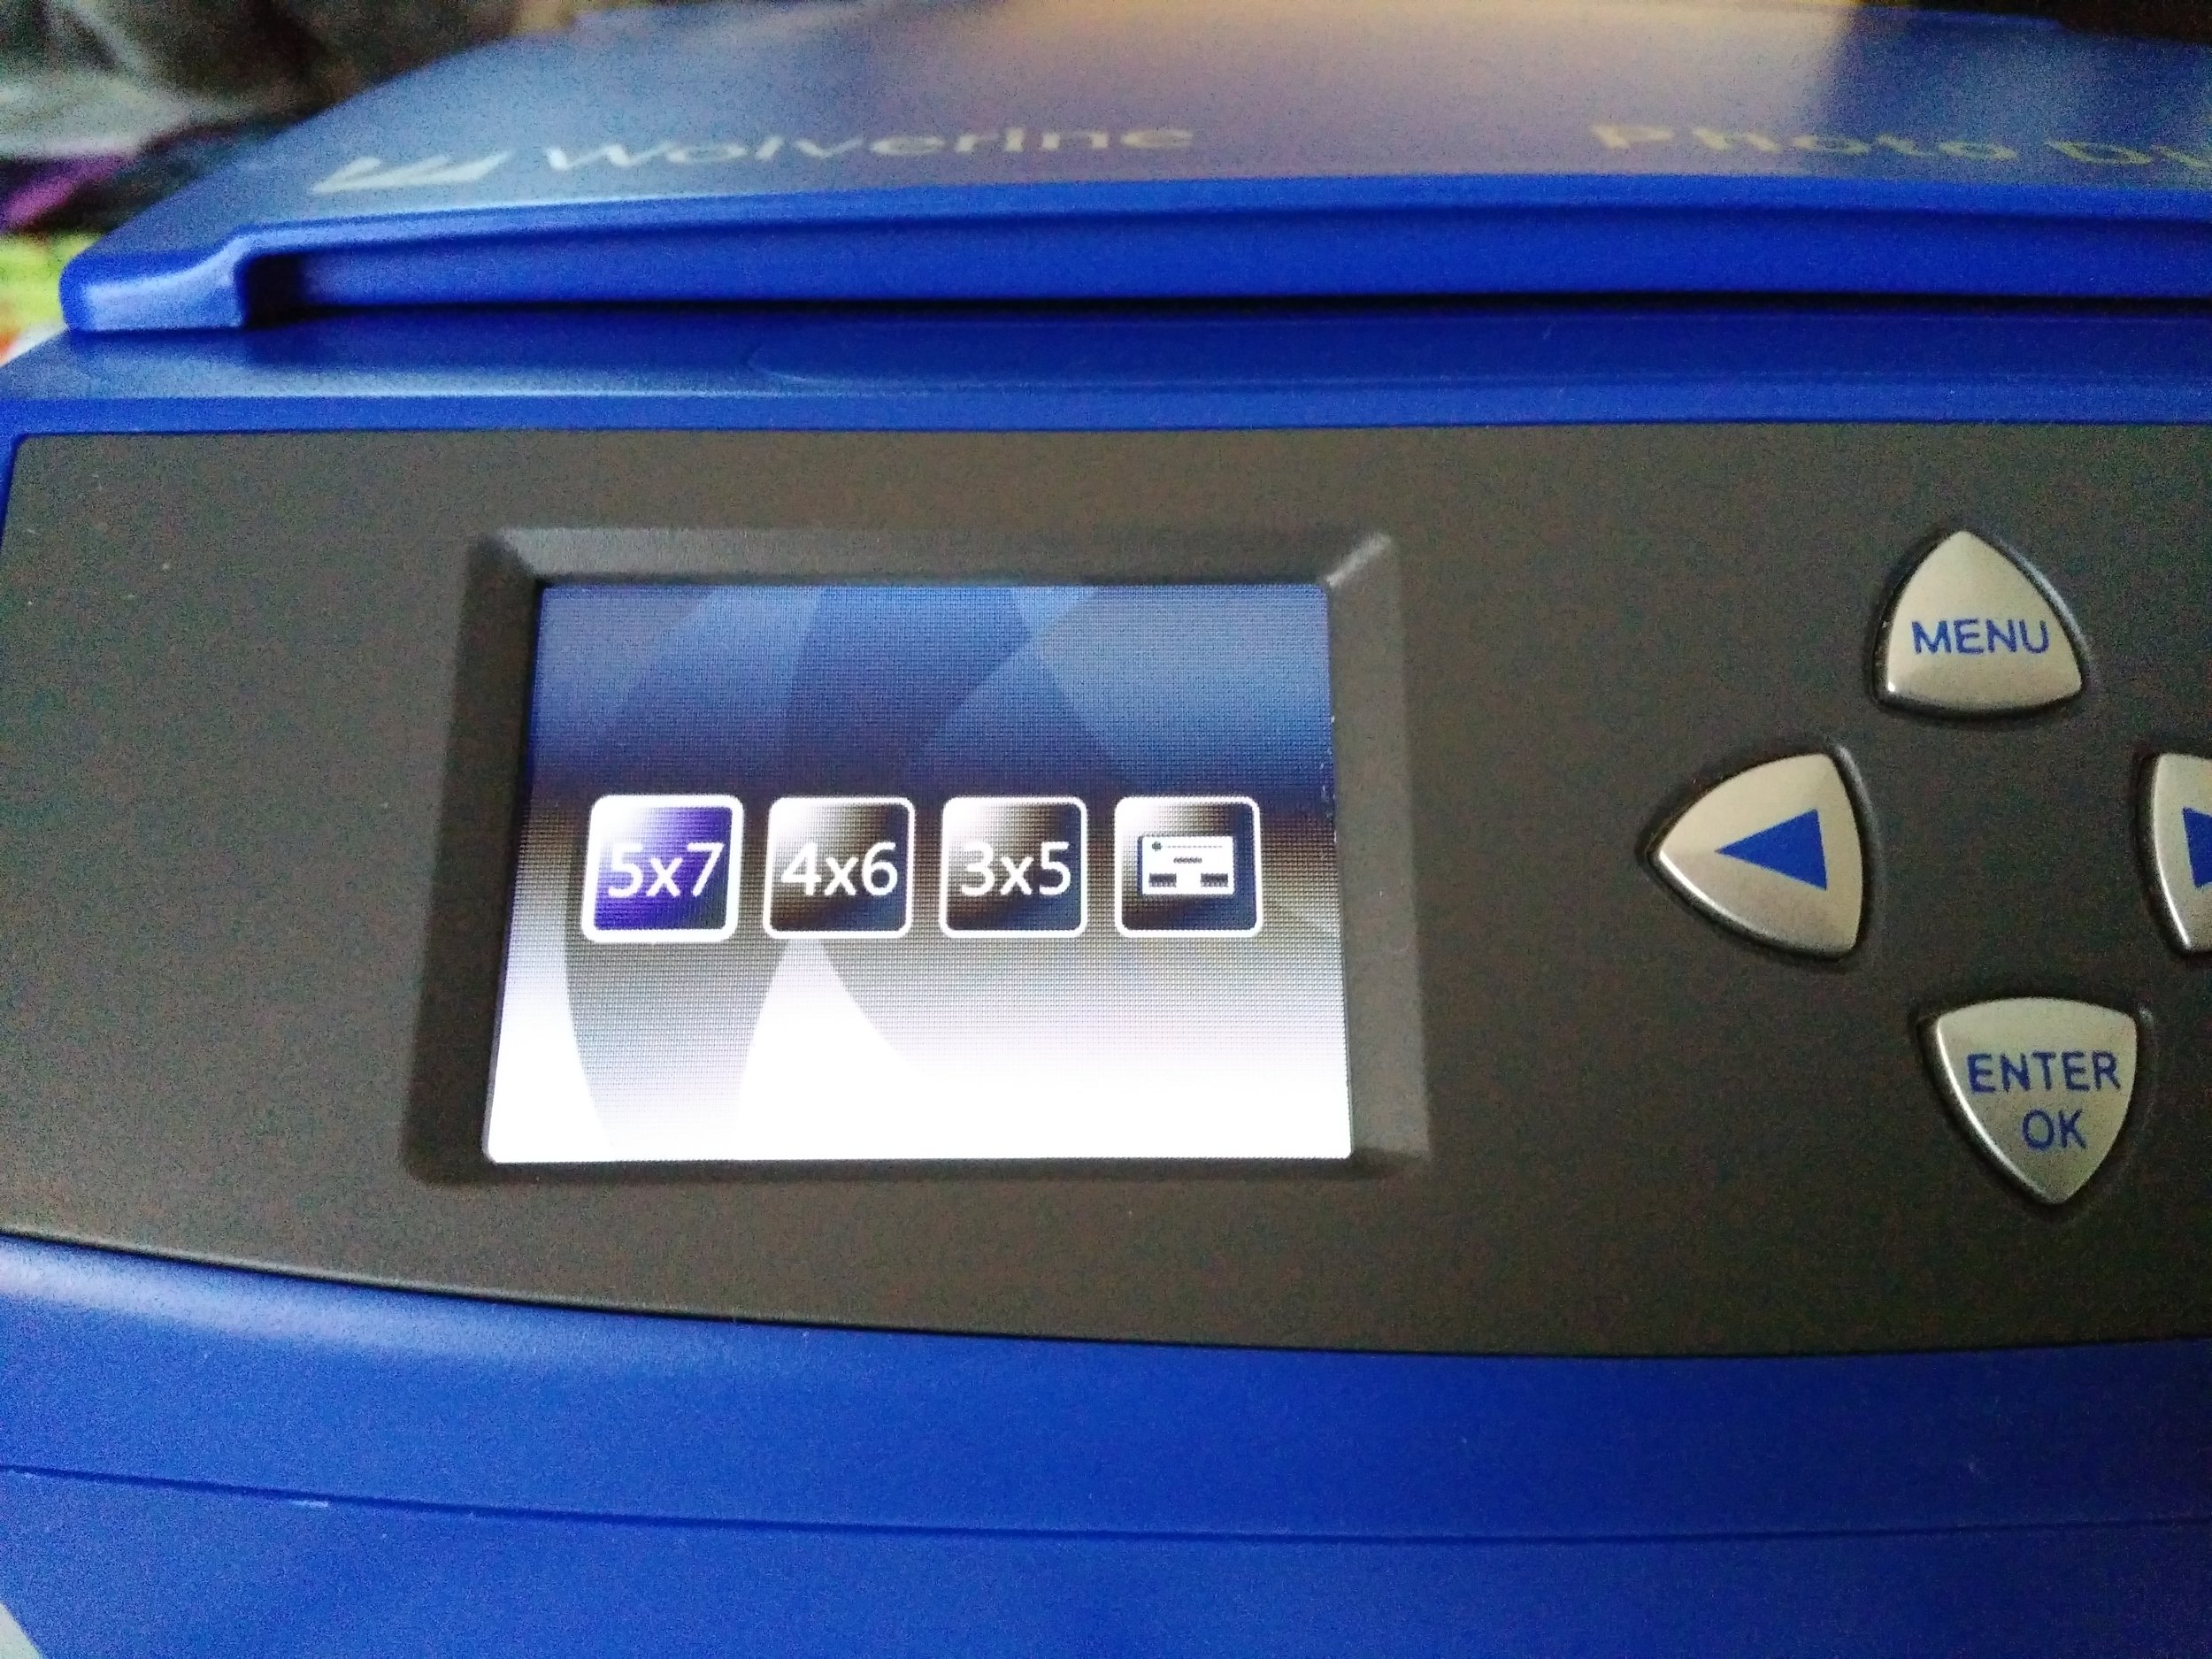
Digitize: Once you're ready to begin, insert your SD card then turn the machine on. Press the menu button until you see this symbol. Hit Enter, then arrow to the right or left to get to the size photo you want to digitize. Hit Enter to select it.
I've started with the 5x7 photo. Place the photo size bracket into the upper left corner into the slots, and align your photo into that bracket corner. Close the lid and press Convert, then Enter. It takes approx 5-8 seconds for the photo to be digitized.
You can see the "progress wheel" turning on the screen. Repeat that process for the 4x6 photo making sure to change out the photo size bracket and to change the photo size in the menu.
And repeat the process once again for the 3x5 photo again making sure to change to the 3x5 photo size bracket and change the photo size in the menu.
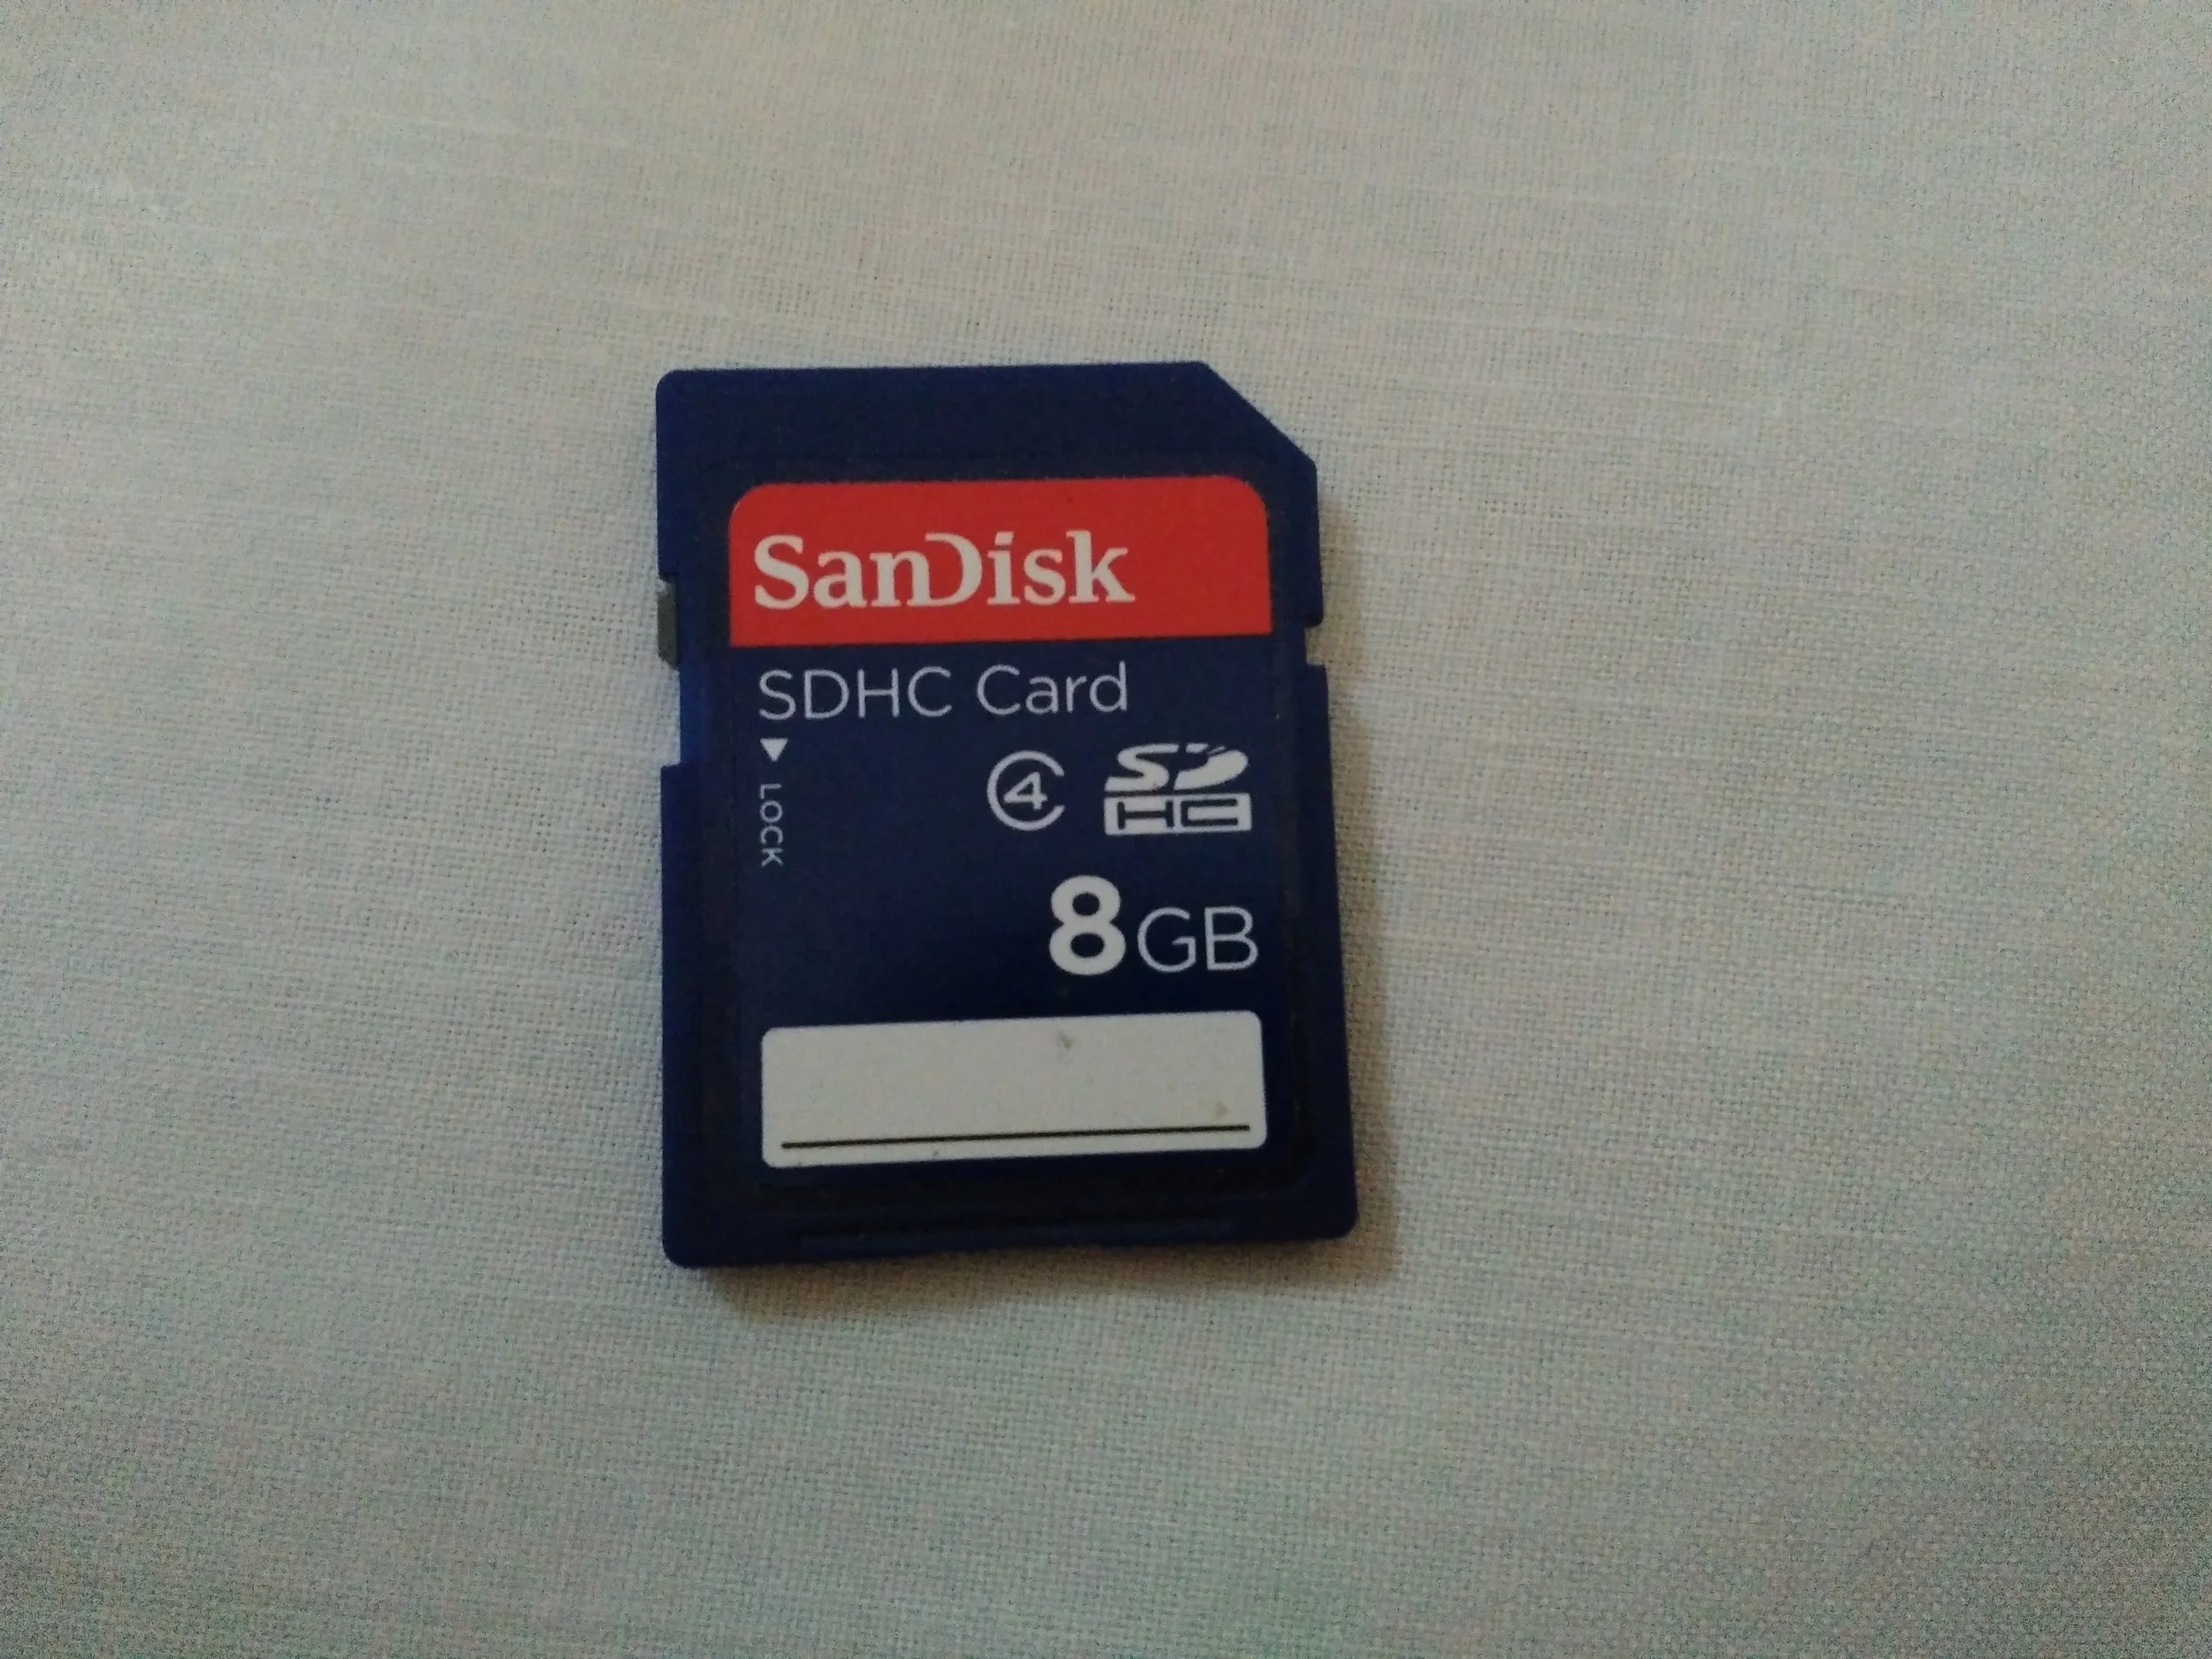
Hints: I highly recommend you use an SD card for this if you have more than 35-40 photos to convert. There's a slot for it right in the front of the machine.
Also, they really mean it when they recommend you clean the glass often. I have many photos with dust particles on them from not cleaning the glass often enough.
Final Assessment: Overall, I'm pleased with the Wolverine Photo Digitizer. The quality of the digitized photos varied. Some were not as clear as the original, or the lighting was different, or they just looked like well done photos of the photos. For my purposes, to have a digital back-up of paper photos that don't require great quality, it worked really well. If I wanted a good quality digital copy of a special photo, I would still take it to a shop that specializes in that.